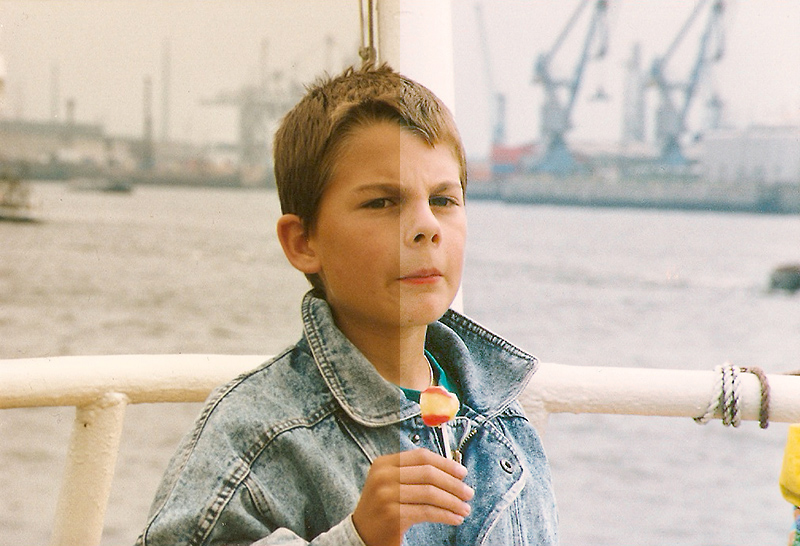
Today I remembered to scan an old photo of myself that has been standing on various shelves since years… the color lost a lot of its brilliance and got somehow yellowish over time.
Here is what I did to make it look like new again, using Photoshop (any other image processing software should have the same features, maybe with different names). Click on the thumbnails to get a bigger image:
1. I scanned it directly into Photoshop, made the image a bit bigger than the actual photo to be able to crop more precisely than the scanner software does.
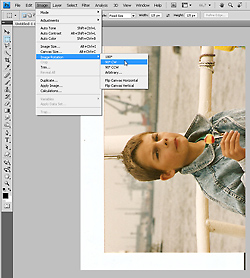
2. I scanned it in the wrong orientation, so it has to be rotated 90 degrees clockwise.
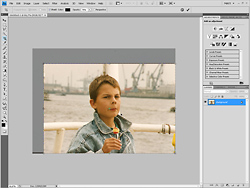
3. The next step is cropping the photo (c).
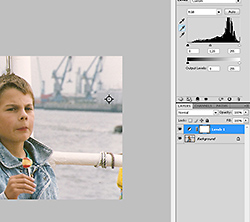
4. Now we can begin to recover the photo. First the colors have to be corrected. I am using a levels layer for that (click on the small black/white circle in the bottom of the layers palette and chose Levels or select it in the Adjustments palette in CS4).
I am selecting the little grey eyedropper in the dialog. With that I can define a neutral grey area in the photo. I am selecting the grey hall in the background at the right. A click on it – and the colors are much more balanced.
CTRL+E (Mac: CMD+E) combines the two layers to one.
The curves dialog has the same eyedropper-tool by the way so it doesn’t matter which dialog to use.
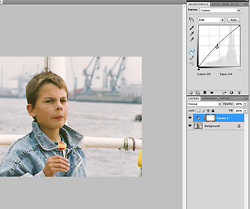
5. I a curves layer I raise the curve a bit in the middle to brighten up the midtones of the photo. CTRL+E (Mac: CMD+E) to flatten the image again.
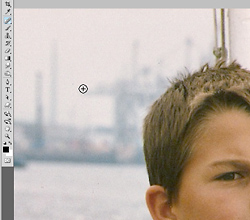
6. Now it’s time to remove any dust-spots on the photo. It is not much and the spots are just small, so I can easily stick to the spot healing brush (j) on this photo. I zoomed in to 200 percent to better see the details.
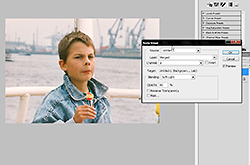
7. Now we’re almost there. Compared to the print I have lying on my desk the colors are still a bit washed out. A quick trip to the Lab color space fixes this easily: I converted the photo to Lab (Image->Mode->Lab). The I duplicated the background layer (the only one that is there). I clicked on Image->Apply image. Now I selected the a channel in the Channel drop-down and Soft light in the Blending drop-down.
As the effect was a bit too strong I reduced the opacity in the dialog to 80 percent (usually I am on 30 to 40 percent, but here I needed a stronger setting). That makes the colors pop in a way that is not too obvious but effective. Flatten the image (CTRL/CMD+E) and convert the image back to RGB.
The image got a bit darker again, a repetition of step 5 fixes that.
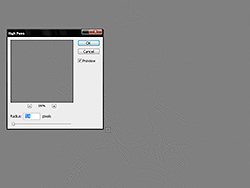
8. My last step is to add a light sharpening. The image is a bit noisy, and to not enhance that even more I am using the high pass filter here (Filter->Other->High Pass). First I duplicated the background layer, then opened the filter dialog and chose a very low setting to only accentuate the strongest borders.
That layer is changed to the blending mode Overlay in the drop-down in the layers palette. The results is (subtly) more sharpness without increasing the noise too much. The last step is to flatten the image and save it.
That’s it, the image (from the late 80s if I’m not wrong) is recovered! Here is the final result (right), compared to the original scan.

